 |
| Horus Heresy: Imperial Fists legion leviathan dreadnought |
As you can see from the picture above, I've finally finished my leviathan dreadnought. After a long time spent painting infantry-sized models, it's been a treat to paint something a little larger and use some slightly different painting techniques. This model is now ready to take pride of place among my Horus Heresy era Imperial Fists and I'm sure they'll be glad to have him on their side. Given how big he is, I wouldn't fancy their chances if he wasn't...
 |
 |
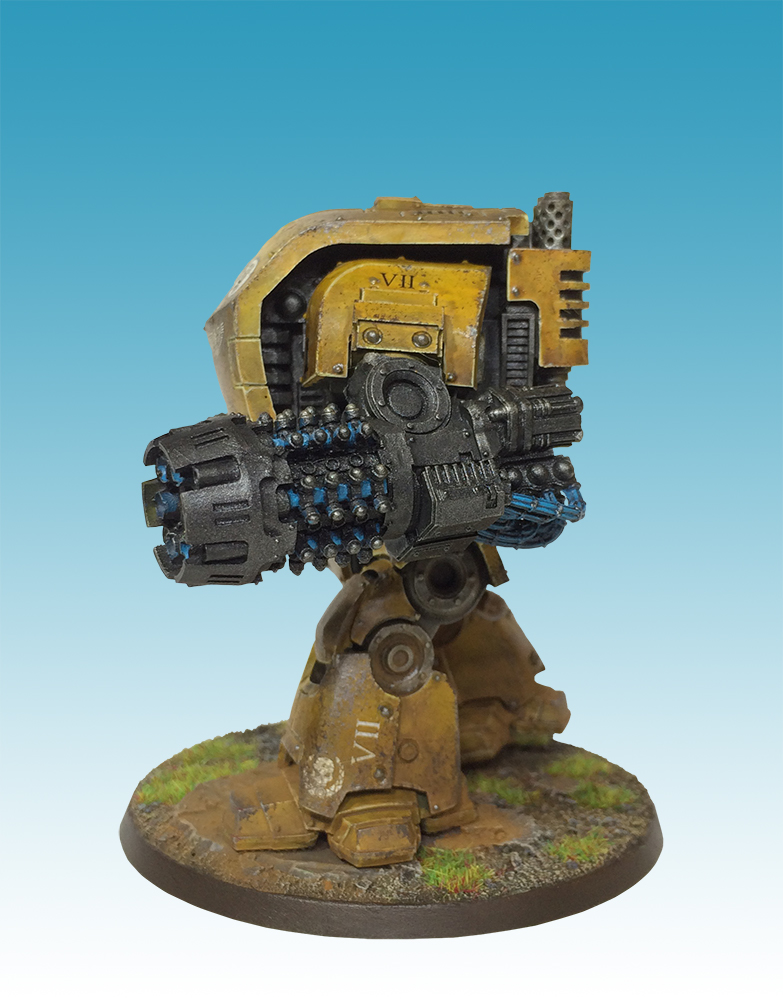
| Side views, showing the grav-flux bombard (left) and siege drill (right) weapons |
I really enjoyed this project. Any huge model is always going to be a little daunting, but I loved the look of this model from the moment I first saw it, and knew I wanted one straight away. When I finally ordered one and started to put it together, I knew this wasn't going to be a small undertaking. I was aware it was big—the clue, after all, is in the name—but seeing it take shape on my desk, and comparing its proportions to other models, was a real eye-opener. As with anything as daunting as this though, the best thing to do is get stuck in and aim for the finish line. I'm glad I did.
 |
| Rear view |
The main reason this project took as long as it did is because I did it in stages while painting other models in between. I'm pretty sure I could have done the whole thing in a few days if I'd have just focused on it (although I fear the quality might have suffered if I'd tried to do that). The actual stages of painting didn't take anywhere near as long as I thought. I airbrushed the majority of the metal work straight after undercoating, before washing and dry-brushing it. The main thing that left was to pick out the yellow armour panels. Oddly, because they're so big, it's actually quite a quick process. You have huge areas of solid colour, so you don't have to be too careful with the brush and can cover most of them fairly quickly. After that, it's just a case of picking out the bits closest to the metal areas with a smaller brush. The armour is shaded with multiple thin washes before glazing and edge highlighting. I could then pick out the details, add some decals and battle damage to my liking.
 |
| With half a squad of MkVI tactical marines for comparison |
Buoyed by the relative ease of this one, I'm currently working on an
even bigger project for the same army. I don't know when I'll have that done, but it'll hopefully appear on here soon. In the meantime though, I hope you like the look of this latest addition. Rest assured there's
much more to come...


No comments :
Post a Comment